DIY Rollers + Free Printable Labels
One of the easiest ways to use essential oils is to make pre-diluted rollers!
These are an easy grab-and-go option that makes usage and application simple.
Disclosure: This post may contain affiliate links, meaning I get a commission if you decide to purchase through my links, at no cost to you.
Supplies

Making essential oil rollers is easier than it looks! Below are all the supplies needed for DIY success.
Carrier Oil
Fractionated Coconut Oil (or MCT oil) for a neutral clear oil. This is the most common choice
Jojoba Oil is a great less-greasy-feeling oil and is very similar to our skin’s natural oil
Pomegranate Seed Oil for a quick-absorbing oil - my favorite for travel rollers
Hemp Seed Oil is a great companion for pain-focused essential oil blends
Empty Roller Bottles
5 ml bottles are great for travel, purses, and acute remedies
10 ml bottles for your more frequently used oils
Small Funnel & Bottle Opener Key (both usually come with the empty roller bottles)
Printable Labels (Scroll to bottom of page for free downloads)
If you need a printer, the Canon PIXMA G6020 is hands down My FAVORITE! It’s a well-priced workhorse with affordable ink.
Oil Safety - Diluting Your Essential Oils
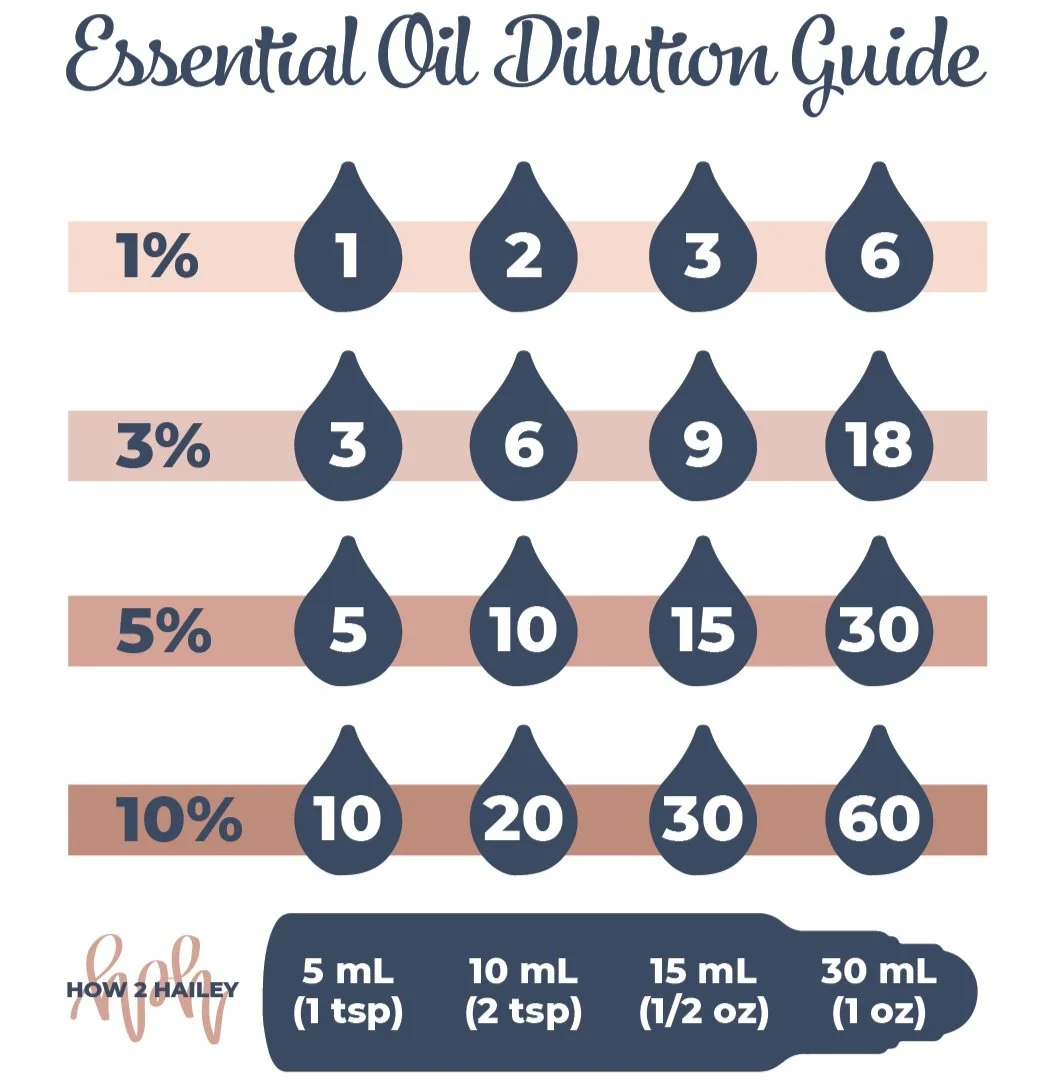
When applying oils topically, it’s important to dilute the essential oils with a carrier oil properly. This helps prevent skin irritation or sensitization to an oil. The dilution percentage will differ depending on the essential oils and who the roller is intended for. Remember, essential oils are highly concentrated, so a little goes a long way!
Children under 10 and pets - 1% to 3% dilution
Adult daily therapeutic use - 3% to 5% dilution
Acute situations and pain - 5% to 10% dilution
For example, if making a sleep roller for an adult, in an empty 10mL roller bottle add 6 to 10 drops of Serenity Essential Oil then fill the rest of the way with a carrier oil such as coconut oil and/or jojoba oil.
Now, Let’s Make Some Rollers!
Gather all of your supplies
Determine the appropriate dilution ratio
Open the empty roller, using the bottle key to get under the plastic lip of the roller to help open the bottle
Drop in your essential oils until you have reached your desired number of drops for your dilution ratio
Using a small funnel, fill the bottle the rest of the way with a carrier oil
Pop on the roller top and screw on the lid. Shake to mix the essential oil and carrier oil
Label your bottle and enjoy!
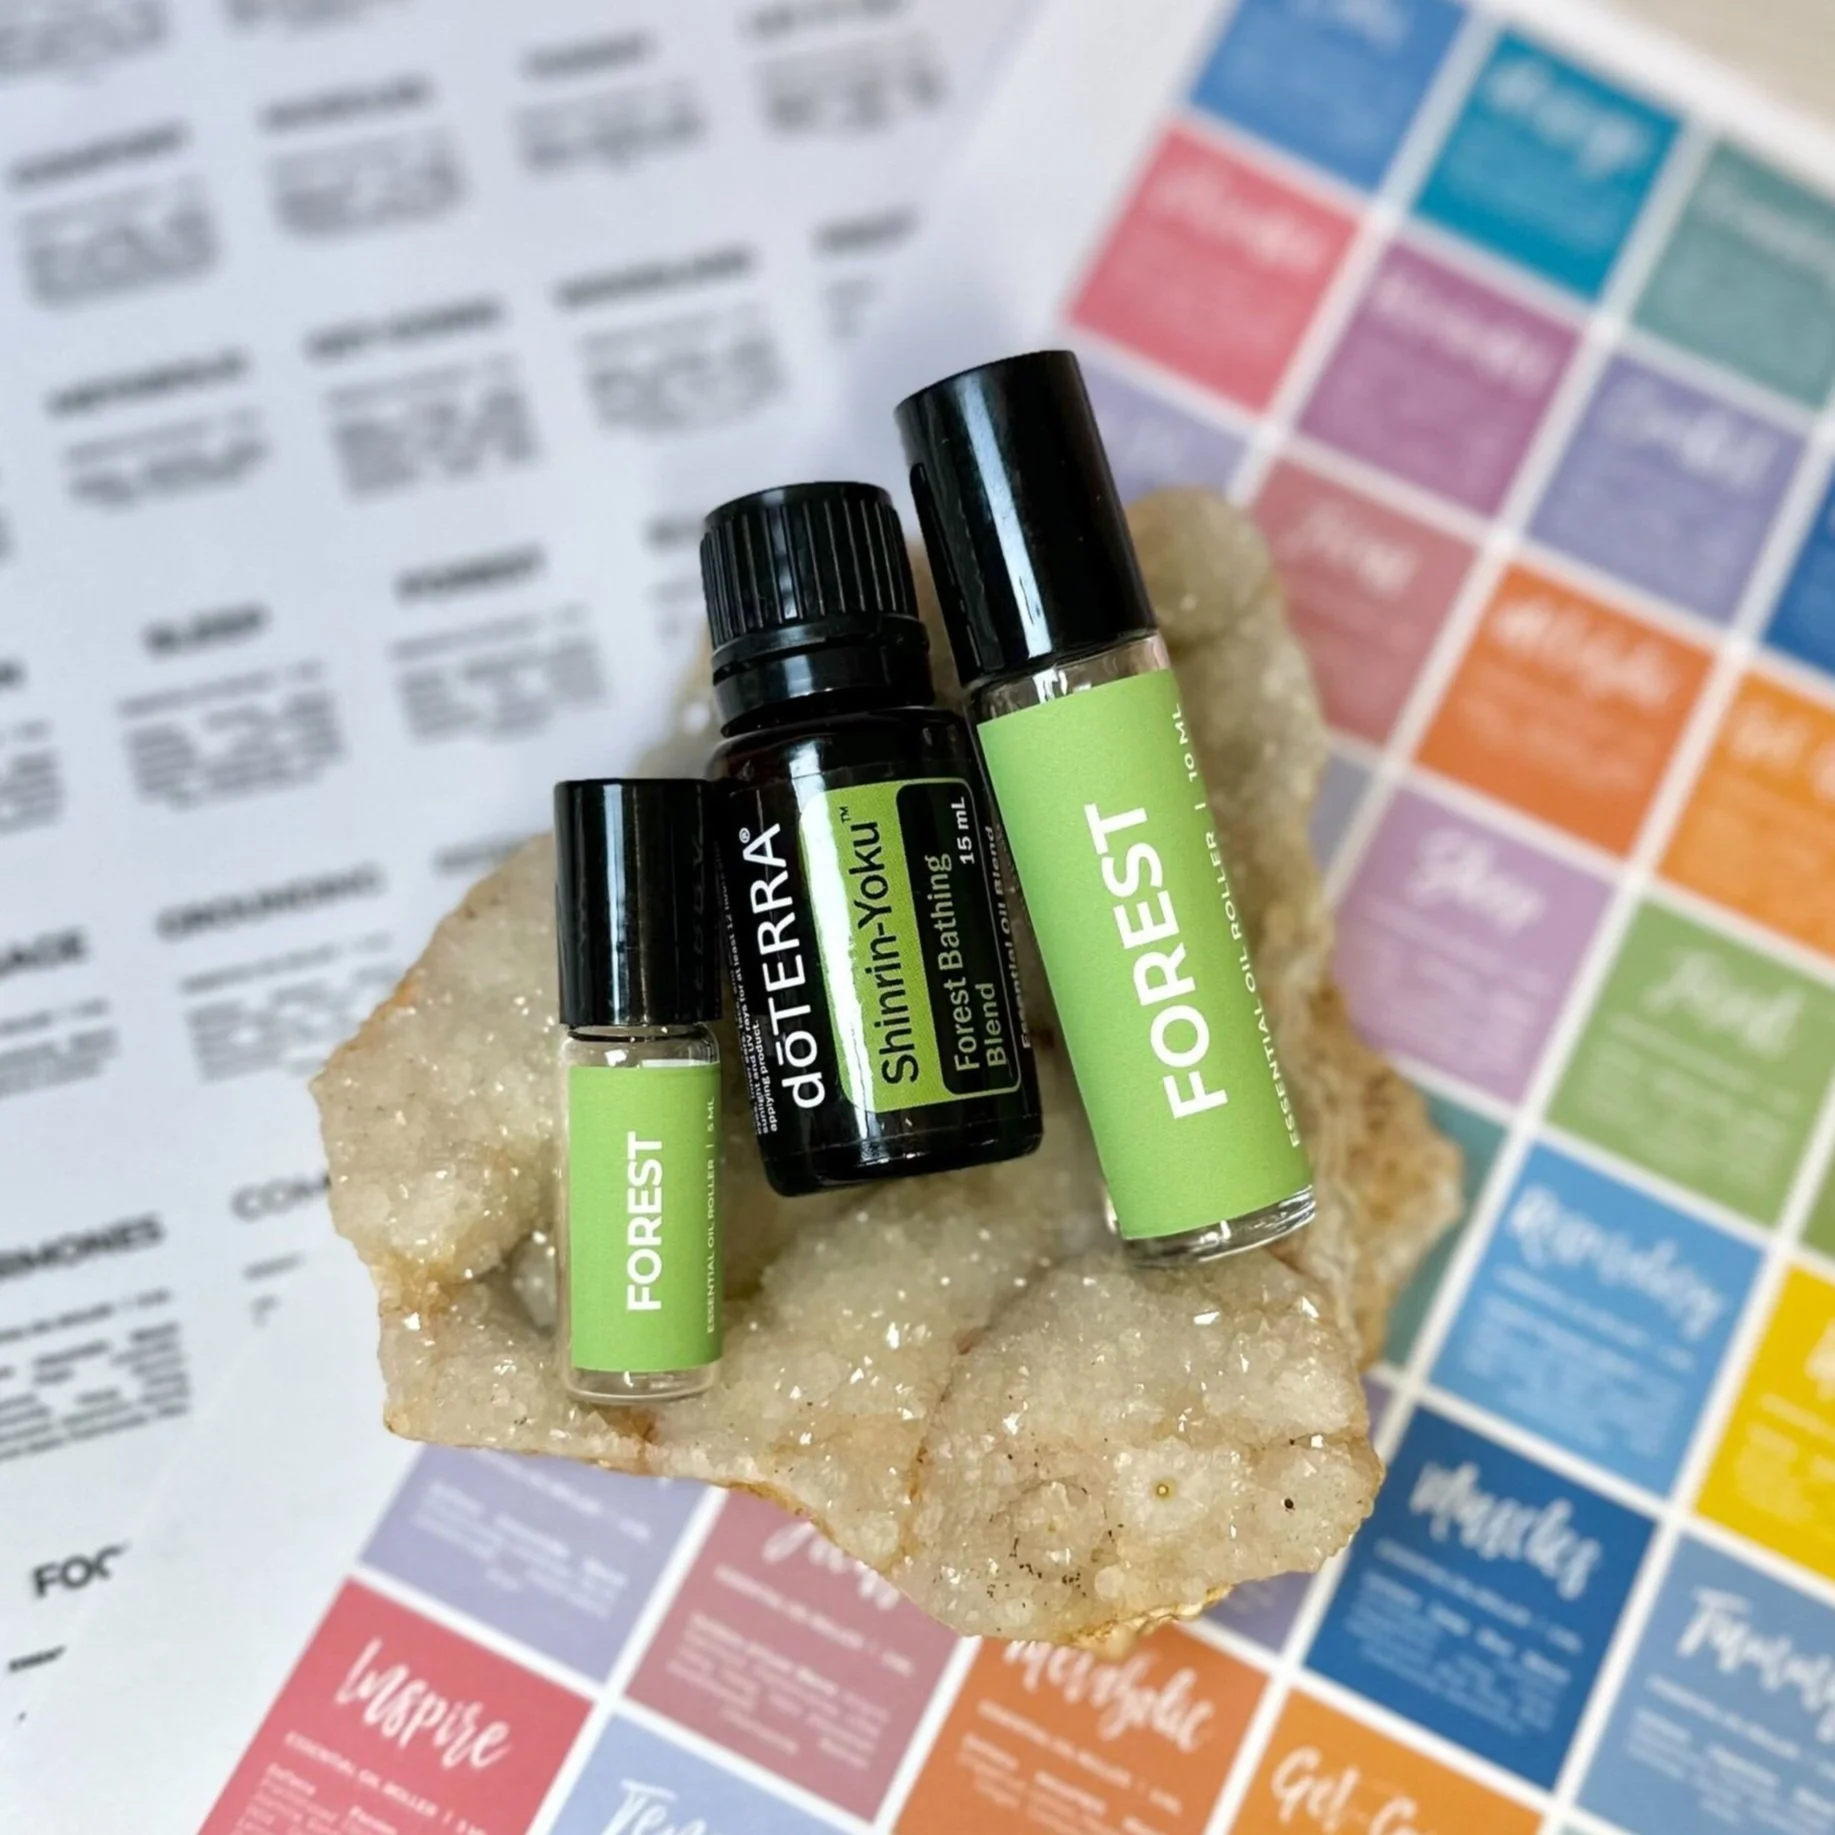
Free Roller Labels
Included is a collection of labels for 5mL and 10mL rollers of DoTerra’s most popular blends. There are options for script and plain font in both monochrome and color (the colors even correspond with the original oil bottles for quick recognition).
After trying many different paper types, I have found this Matte Printable Vinyl Sticker Paper to perform the best. They have a luxurious look and feel, the color is vibrant, they stick well, and they hold up well to essential oils.
If you’re in the market for a new printer, the Canon PIXMA G6020 is hands down My FAVORITE! It’s a well-priced workhorse with affordable ink and vibrant colors.
Tips for printing: Print at 100% scale (as in no scaling) and set your printer color output to “highest quality”. Remember to select the paper type - in my settings, “matte photo paper” is the best option. Print just the pages you need across the 4 options.
Tips for cutting: Use a paper cutter for straight, sharp lines.
Tips for labeling: Clean off the outside of the roller with rubbing alcohol and allow it to dry before applying the label. This allows it to adhere better to the glass. I like to more permanently adhere the label by applying steady heat for 3 seconds to the long edges with a mini heat press.
Note: These labels are intended for personal use only! Not for sale, resale, or for labeling rollers to sell. If you would like custom roller labels designed and/or printed, please reach out to discuss details and pricing.